Friday, 13 April 2012

Return to Parklife


  TO THE PARK was the cry one lovely sunny evening a few weeks ago when my wife and i had finished all of the days chores with some time to spare.  Jess was in a rare film shooting mood and i wasn’t about to complain so we packed up our kit and headed to our favourite park – Worden.  It is a lovely large park and if you have read previous blog posts of mine you have probably seen shots from it.  

  The park is divided into several sections – football pitches, a wood, a miniature train area, a play area and the gardens area.  We only had an hour or so to play with before the light would be gone so we did some rapid-fire shooting, sometimes not even pausing to meter properly.  The flowers were just starting to bloom which made a lovely carpet for the trees to sprout out of.

  After developing the film i was very pleased with the results – the light is great on some of the shots.  Lets hope that when Jess finishes her roll her shots will have come out well too.


Thursday, 12 April 2012

Is There a Doctor in the House?


  As mentioned in previous blog posts (http://www.twelvesmallsquares.blogspot.co.uk/2011/06/decayed-derelict-and-abandoned.html) i am very much drawn to run down, derelict places.  I love the textures of peeling paint and thick rust and i spend hours online searching out other peoples’ photos of abandoned places and looking for local places to access myself.  Recently i got inside an abandoned hospital/convalescent home that isn’t too far from my house.  I spent a good 2 hours inside and had a great time.  Although it’s sometimes a little spooky to be in such places i absolutely love wandering round soaking up the environment and shooting as many photos as i can.  I must confess that i got a little trigger happy and shot 3 rolls of film whilst i was inside!  The weekend was spent developing, scanning and uploading, both to this blog and to my Flickr page (www.flickr.com/wilfbiffherb) but it was worth all the effort.  I’m so pleased with how my shots came out as i have always struggled a little with metering, but my exposures from this trip were spot on (well, in my opinion anyway).  I’m looking forward to a return trip sometime in the future to explore further and take more shots.


Wednesday, 4 April 2012

Climb, Shoot, Fail, Win!


  I used to rock climb a lot when i was young and single.  I’ve travelled all over doing it – France, Spain and even Switzerland.  As soon as i started going out with the fine lady who is now my wife though i kind of got out the habit.  It’s probably been about 2 years now since i properly climbed and most of my strength has gone and great expansion has taken place on my midsection.  

  I went out a few weeks ago with the lovely Gavin Grey for a trip to a crag i hadn’t been to before called Thorn Crag – he wanted to climb and i wanted to shoot him doing it.  I decided to pack all my climbing gear and have a go at some easier stuff to see how it felt.  A short drive north led us to a tiny rural village where we unpacked the car and started the 40 minute walk up the hill to the boulders.  Despite many hours spent in the gym lately i was still shattered about 10 minutes in, but then again i was carrying my bouldering mat (a large mattress like device which is good for landing on when you fall off rocks), my bag full of climbing gear AND my camera bag loaded with my Bronica system!

  It was absolutely worth it though – the place was deserted and there was no sign of anything man-made.  You couldn’t even hear traffic.  It was so pleasant to be out with a good friend in the middle of nowhere.  We started climbing and shooting, Gav sending a V6 pretty sharpish and me happily shooting away.  A little later we moved round to a beautiful V5 route called Elemental.  After getting some shots of Gav on it i decided to pull on and have a go.  I nearly did it on my first try – i just dropped the last move as i didn’t grab the hold right. I sent it on my next go – i was so chuffed!!  The rest of the day was spent with Gav on a V7 called Mothership Reconnection – fortunately he managed to top it out on his very last go!

  As i headed home i couldn’t wait to get the film developed.  I had shot both colour (Portra 160nc) and black and white (HP5+).  I could do the HP5+ as soon as i got home as i had the chemicals and so when i got home that’s what i did.  Well, kind of.  As most will know 120 film has backing paper on it.  Now i am going to tell you all the secret to developing black and white 120 film.  Listening carefully?  When putting the film on your developing tank reel in your changing bag don’t ever pull the film out instead of the backing paper.  I was furious – an entire roll lost!! Livid was an understatement!  Eventually i calmed down, but even now im still gutted that i lost all those shots.  A few days later i ordered some C41 chemicals and developed my colour roll and i was really chuffed that this picture came out exactly how i wanted it to:


I guess we live and learn...

Saturday, 25 February 2012

How To: Do an Emulsion Lift on Polaroid Film

  I have recently discovered the joys of doing emulsion lifts on polaroid film and now im highly addicted.  Shooting polaroids is fun in itself but the different manipulations you can do with the film after you've got the image are amazing.  I currently only have 2 Polaroid cameras cameras that shoot both SX70 and 600 film so i haven't yet been able to try this with peel-apart pack film but im on the lookout for a pack film camera.  A bit of interent research has shown me that apparently this doesn't work on the original Polaroid SX70 and 600 films but will work on all films made by the Impossible Project.  I decided to give it a try using some Orange Flash film i recently got from them.  It worked great so i thought i would write a tutorial so you can all have a try too.

For starters you will need the following equipment:
  • 2 trays
  • at least 2 small soft bristled brushes
  • watercolour paper 
  • a sharp craft knife or a pair of scissors
  • warm and cool water
  The first step is to put some warm water (between 30 and 40 degrees celsius) into one of your trays and some cool room temperature water into the second tray.  Now use your knife/scissors to start removing the white borders around the film.  One this has all been stripped off you should be left with a transparent plastic rectangle with your polaroid image on.

  Now, put your polaroid into the warm water and push it around a little for around 20 minutes.
You may see the film start to wrinkle up a little-thats fine, its just the water getting in.  The corners may start to lift a little also.
  Now, use one brush to keep the polaroid still and use the other to very slowly and gently peel the emulsion up off the white under layer.  Take your time doing this as it is very easy to tear the emulsion.
 Once the emulsion is all off gently lift it out of the warm water and into the tray with the cool water in it.

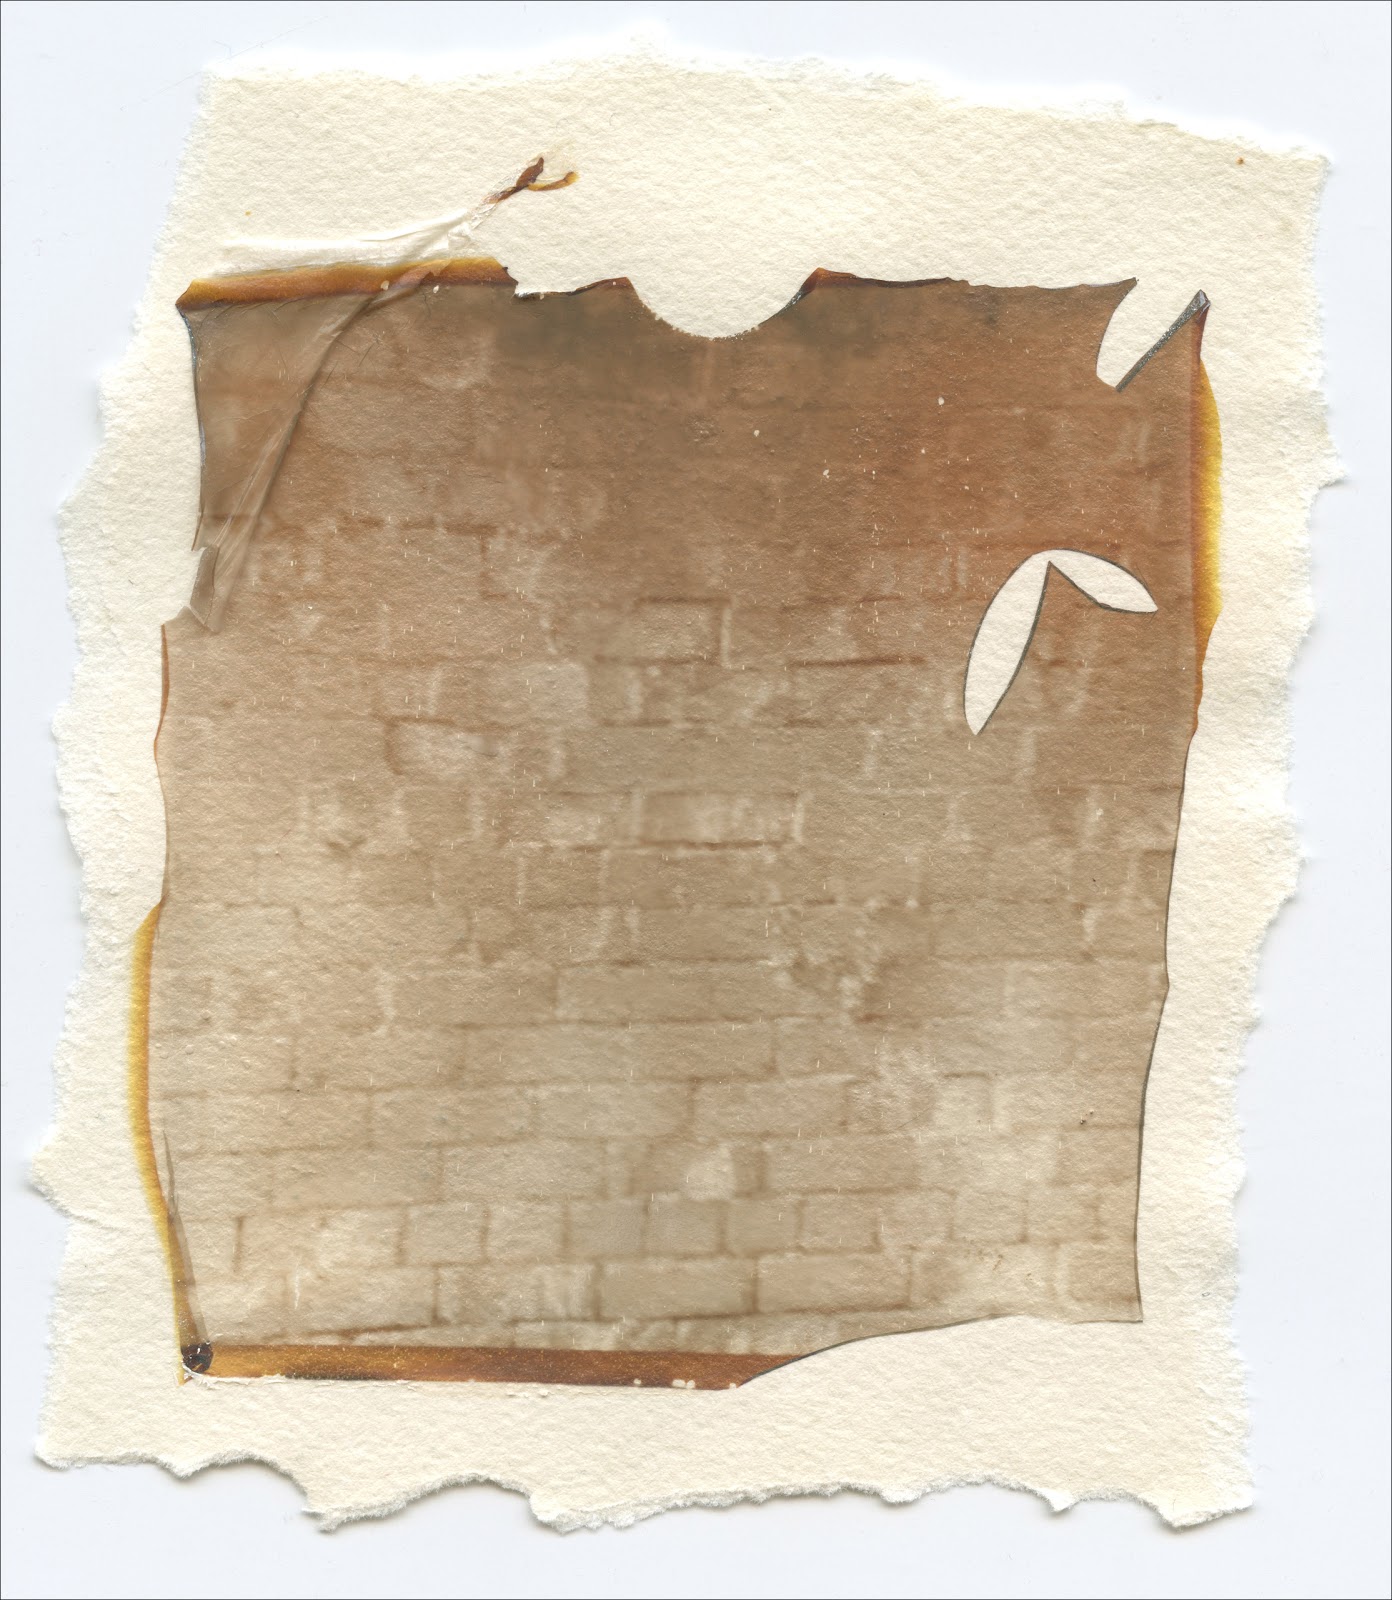
   Now place in a square of watercolour paper and lay it under the emulsion.  Use your brushes to spread your emulsion out into the shape you want above the watercolour paper.

  Once you have it laid out how you want it then its time to lift the paper out.  A handy tip is to find a coaster made of cork and slide it under your paper.  This floats the paper with the image on to the surface of the water, allowing you to remove the paper without the emulsion sliding off.  Once your paper is out leave it somewhere to dry for a few hours then admire your finished article.

  And that's it!  Simple really.  Have a try yourself - you can even stick the emulsion to other materials like wood if you fancy!